Rooflight Installation: A Complete Step-By-Step Guide for Homeowners by Experts
Rooflight fitting presents a straightforward approach to increasing natural illumination inside a house. This approach can elevate the mood of a space and decrease energy bills. Property owners should take into account a number of considerations, including the type of rooflight, necessary tools, and safety measures. Factors like building structure and environmental conditions need thorough assessment. Understanding these aspects will prepare homeowners for a successful installation. In the following section, the advantages of adding a rooflight to your home will be discussed.
The Case for Installing a Rooflight? Advantages for Your Home
What are the benefits of installing a rooflight? Rooflights offer numerous advantages that enhance both the aesthetic and functional aspects of a home. They turn gloomy spaces into light-filled, inviting environments by permitting natural sunlight to stream in, which can greatly enhance mood and well-being. Increased daylight reduces reliance on artificial lighting, thereby lowering energy costs.
In addition, rooflights can improve ventilation, delivering a fresh air flow that promotes a healthier indoor environment. Many homeowners appreciate the added architectural interest that rooflights bring, making their homes more attractive. In addition, a well-placed rooflight can even improve property value, drawing in prospective buyers with its modern and open feel. In conclusion, installing a rooflight can lead to a sunnier, more comfortable, and more attractive living space, making it a worthwhile consideration for any property owner looking to enhance their property.
Finding the Best Rooflight for Installation
When choosing the most suitable rooflight for placement, homeowners must evaluate various factors to make certain it meets their needs and suits their home. Initially, the size and shape of the rooflight are essential; it should align properly with the existing architecture while delivering sufficient natural light. Additionally, the glazing option is critical; choices such as double or triple glazing deliver better insulation and energy efficiency. Homeowners should also assess the rooflight's airflow capabilities, as good air circulation can help reduce humidity and improve indoor air quality.
Design elements, such as frame color and material choices, also contribute to ensuring the rooflight improves the home's aesthetic appeal. Finally, it is important to examine local regulatory requirements and planning permissions, which may influence the rooflight decision. By carefully considering these factors, homeowners are able to select a rooflight that satisfies functional demands while improving their home environment.
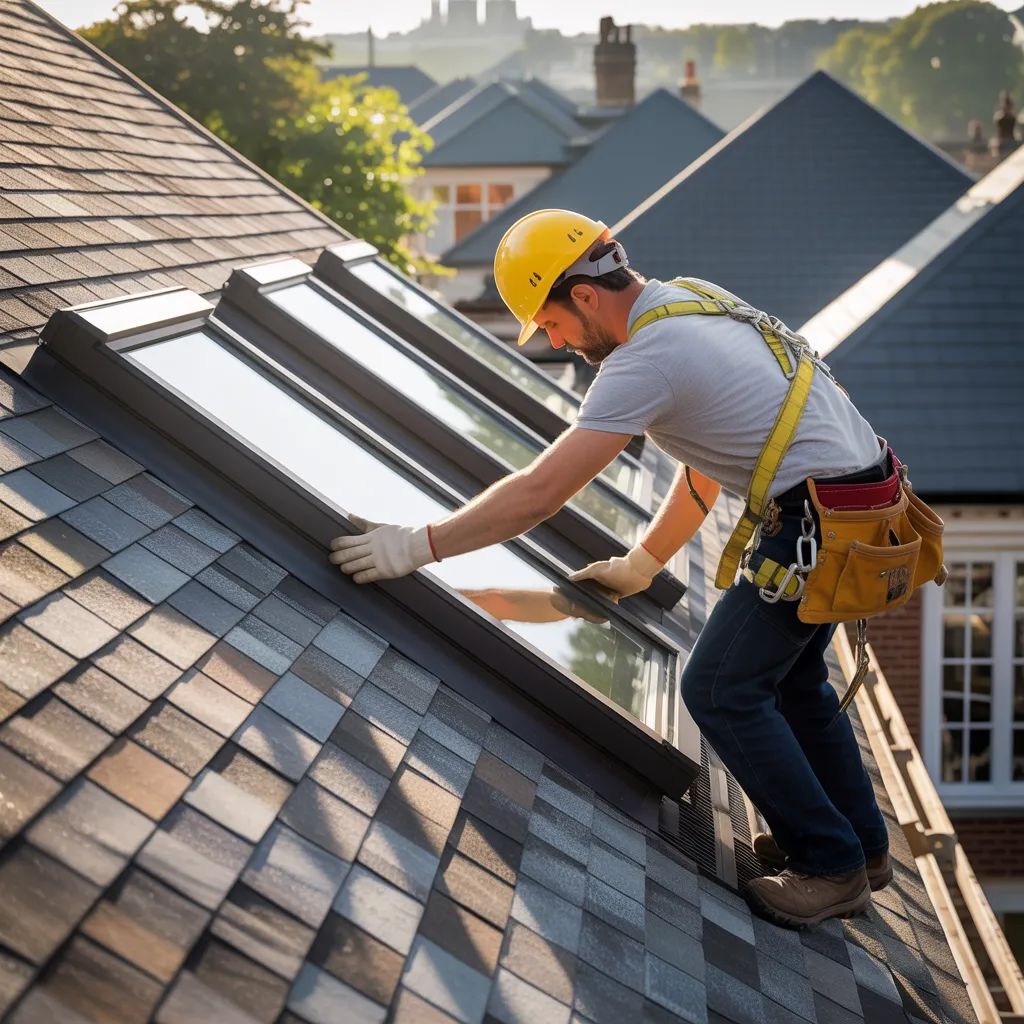
Step-By-Step Setup Process
Once you have chosen the suitable rooflight, the subsequent phase includes the installation procedure, which demands careful attention to detail to guarantee a successful outcome. The primary task is to ready the installation site by checking the roof is clean and accessible. Following this, measurements must be taken carefully to mark the desired location for the rooflight, guaranteeing alignment with the current roof framework.
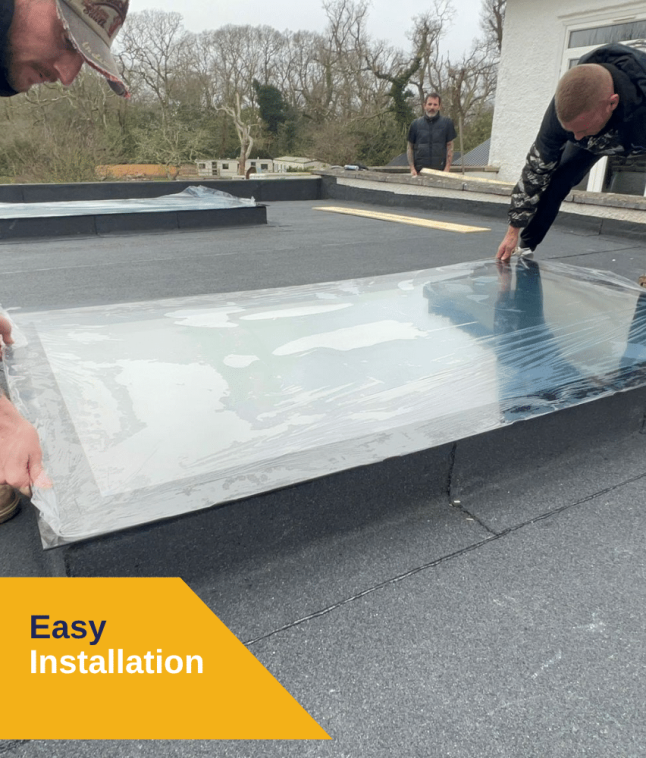
Next, the roofing material is meticulously trimmed according to the indicated measurements. The process continues with the installation of a supporting curb or frame to provide support for the rooflight, which must be firmly secured to guard against leaks. After the curb has been installed, the rooflight is set in position and sealed with protective waterproof flashing. To conclude, any completing touches, such as inside trim, are incorporated to finish the installation. This structured method helps ensure the rooflight performs efficiently while elevating the home's aesthetics and natural light.
What Equipment Do You Require for Rooflight Installation?
A variety of vital tools are required for a proper rooflight fitting. Homeowners should gather specific items to guarantee efficiency and safety during the process. A power drill is critical for creating accurate holes and fastening fixtures. A circular saw or jigsaw is needed for making the cut in the roof, while a measuring tape provides accurate dimensions. A level is important for ensuring the rooflight is correctly aligned.
Protective gear, including gloves and goggles, shields workers from possible dangers. Additionally, a nail gun or roofing hammer makes easier the installation of shingles or flashings around the skylight. A caulking gun is also vital for closing joints and avoiding water ingress. To complete the toolkit, scaffolding or a sturdy ladder offers secure access to the rooftop. By assembling these tools beforehand, property owners can complete the installation efficiently and achieve excellent outcomes.
Preparing Your Roof: Safety and Structural Considerations
Before beginning a rooflight installation, it is vital to prioritize safety and assess the roof's structural stability. Suitable protective gear, such as harnesses and helmets, is required to safeguard against possible dangers. Additionally, conducting a thorough inspection of the roof guarantees it can support the new installation without affecting structural stability.
Safety Gear Essentials
Safety during rooflight installation starts with proper gear selection. Homeowners are advised to wear a hard hat to guard against debris that may fall. Non-slip shoes are necessary to ensure stable footing on rooftops, lowering the likelihood of accidents from loss of footing. Furthermore, harnesses should be used whenever working at elevated positions, securing properly to reduce the risk of falls. Protective eyewear guards against dust and flying particles, as gloves help maintain grip and safeguard hands from jagged edges. It's also advisable to use knee pads for comfort during extended periods on the roof. By equipping themselves with these essential safety items, homeowners are able to reduce risks and approach the installation with increased confidence and peace of mind.
Structural Integrity Check
Carrying out a structural integrity evaluation is crucial for a safe rooflight installation, as it helps identify any underlying issues that may compromise the structural integrity of the roof. The first step for homeowners is to inspect the rafters and joists for signs of damage, such as rot or cracks. It is essential to assess the existing roofing materials, verifying they can bear the extra weight of the rooflight. Consulting a structural engineer can offer important guidance, especially for properties with previous damage or older constructions. Additionally, checking for adequate drainage and ventilation is essential to avoid potential issues. By resolving these structural concerns, homeowners can secure a reliable installation, boosting both the security and lifespan of their rooflight.
Set Up Your Rooflight Successfully: Key Guidelines
Successful rooflight installation copyrights on thorough preparation and meticulous attention to detail. Homeowners ought to start by collecting all required tools and materials, ensuring everything is accessible before commencing. Carefully following the manufacturer's instructions is strongly advised, since every rooflight model may carry unique specifications.
Additionally, drafting a well-structured plan improves the installation process. Indicating the location where the rooflight will be positioned prevents mistakes, while taking measurements twice ensures accuracy.
While working through the roof, using a sharp blade can help prevent damage to the surrounding materials. Appropriate safety measures, such as securing the work area and using protective gear, are crucial to avoid accidents.
Sealing the rooflight properly is vital to stop water ingress. Homeowners should apply high-quality sealant around the edges to guarantee durability. By following these key guidelines, the installation procedure can progress without issues, delivering a successful and aesthetically pleasing rooflight addition.
5 Common Installation Challenges and How to Solve Them
In the process of rooflight installation, a range of difficulties can occur that may impede advancement. Recognising frequent challenges is crucial to effective problem-solving. This section will present the top five obstacles and offer actionable remedies to secure a smooth installation.
Typical Installation Challenges
Setting up rooflights often comes with a number of obstacles that could complicate matters and impact the final outcome. One common obstacle is inadequate structural support, which can result in safety risks and reduced overall stability. Weather conditions, such as wet conditions or gusty winds, can postpone the fitting process and reduce material effectiveness. Furthermore, improper measurements may result in ill-fitting rooflights, requiring expensive corrections. An additional complication arises from working around pre-existing plumbing or electrical infrastructure, which can complicate the installation process. To conclude, obtaining the necessary permits can be a lengthy process, causing delays and potential legal issues. Identifying these challenges in advance can help homeowners prepare effectively, providing a more straightforward installation journey.
Proven Problem-Solving Techniques
Navigating the complexities of rooflight installation frequently demands practical troubleshooting approaches to address typical obstacles. One frequent challenge is inaccurate sizing, which can cause ill-fitting units, confirming dimensions ahead of purchase is strongly advised. Another challenge is ensuring structural integrity, consulting a professional can help evaluate the summary roof's capacity. Water infiltration during installation is a widespread issue; utilizing high-grade sealants and observing manufacturer recommendations can minimize this hazard. Additionally, issues involving electrical setups for integrated lighting systems may develop; homeowners should consider hiring a licensed electrician. Finally, dealing with unforeseen weather fluctuations may delay progress, arranging work during ideal weather conditions is strongly suggested. By anticipating these challenges, homeowners can achieve a more efficient rooflight installation outcome.
Popular Questions We Receive
How Long Does a Rooflight Installation Typically Take?
Installing a rooflight typically takes between one to three days, depending on factors such as how complex the design is, the roofing materials used, and weather conditions, to ensure a proper fit and seal for the best possible performance.
Is It Better to Install a Rooflight Myself or Use a Professional?
People can have a rooflight installed themselves if they have the required skills and equipment, but hiring a professional is often recommended for optimal outcomes and to ensure adherence to building regulations and safety requirements.
What Maintenance Is Necessary Following Installation?
Following installation, ongoing maintenance for a rooflight consists of wiping down the glass, verifying seals against leaks, evaluating nearby roofing materials, and maintaining sufficient drainage. Following these measures helps preserve performance and prolongs the rooflight's service life.
Are Rooflights an Energy-Efficient Choice for My Home?
Roof lights are energy-efficient options for homes, allowing natural light to reduce reliance on artificial lighting. When correctly fitted and insulated, they enhance thermal performance, potentially lowering heating and cooling costs over time.
What Permits Are Needed for Rooflight Installation?
Typically, homeowners need building permits for installing rooflights, which may include planning consent and conformity with regional building codes. Speaking with municipal authorities confirms compliance with zoning ordinances and safety requirements ahead of beginning the project.